
Before You Finish Your Basement in Milton: Moisture Checks, Permits, and Planning That Prevent Regret
An unfinished Milton basement looks ready. That is the trap.
In Hawthorne Village, Scott, Ford, and Willmott, thousands of Milton homes were built in the 2000s, 2010s, and 2020s with a big, clean, unfinished basement underneath — concrete walls, a roughed-in bathroom in some plans, and just enough headroom to picture a family room, a guest room, or a home office. In older homes in Old Milton, Beaty, and Clarke, the basement is smaller and rougher, but the temptation is the same: it is the cheapest extra living space in the house, if you count only the framing, drywall, and flooring.
The expensive basement mistakes in Milton are rarely about finishes. They happen before the first stud goes up, when a damp wall gets closed in, a foundation crack that needed sealing gets framed over, or a layout is built that a permit or an egress rule will not accept. Once drywall is on, fixing any of that means opening the wall again. This guide is the pre-build check, in the right order: moisture first, structure and services second, permits and layout third, finishes last.
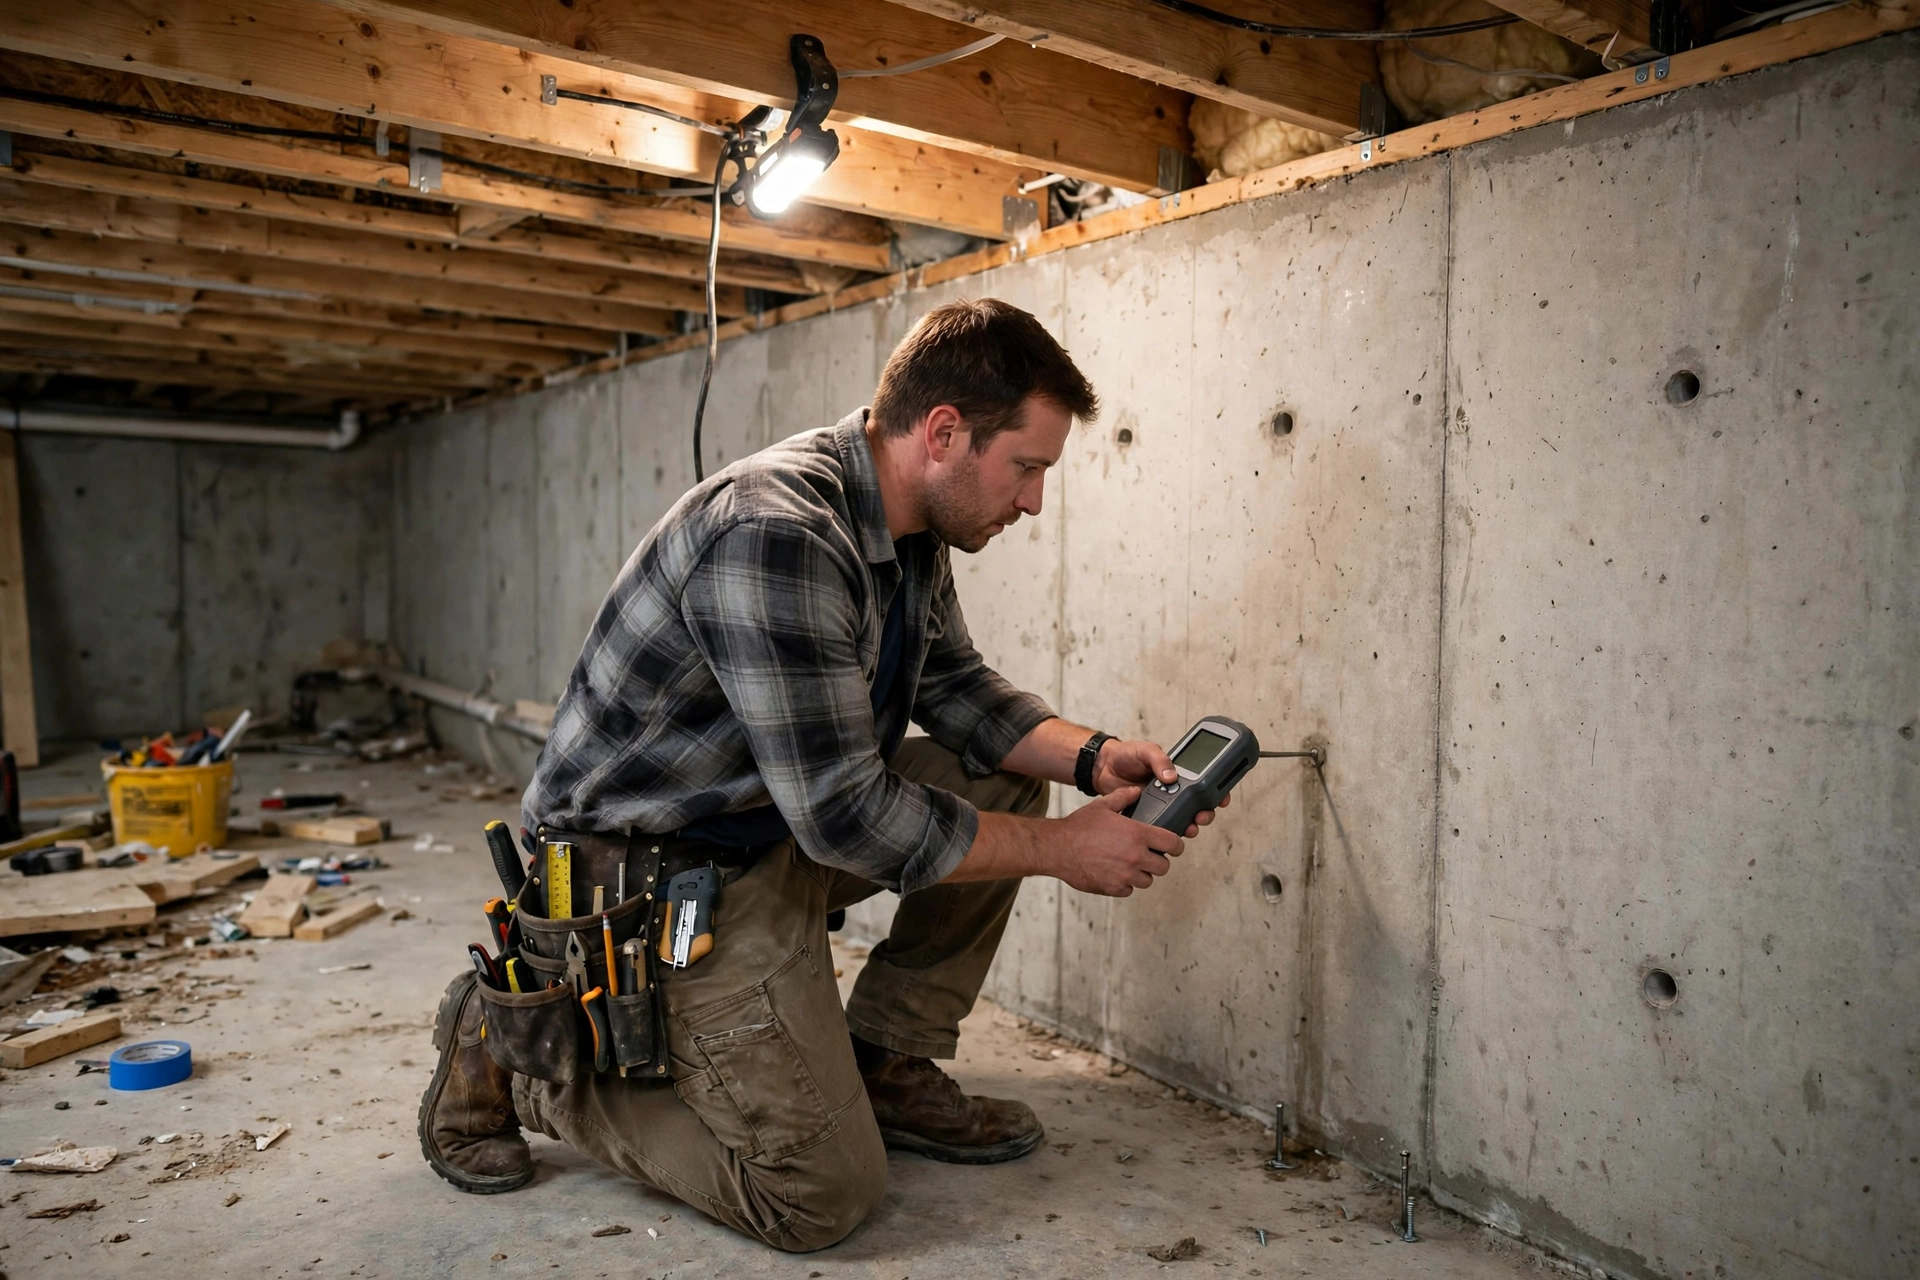
Step 1: Prove the basement is dry — through a wet season if you can
A basement that looks dry in August can be a different basement in April. Milton sits below the Niagara Escarpment, spring thaw and heavy rain push groundwater against foundations, and newer subdivisions are still settling their grading for years after construction. Before you plan finishes, gather evidence.
Read the walls. Look for white, powdery efflorescence on concrete, faint tide lines, rust at form-tie holes, and dark staining at the floor-wall joint. Any of those means water has moved through the wall, even if it is dry today. Check behind anything stored against an outside wall — that is where mould usually shows first.
Read the floor. Tape a clear plastic square tightly to the concrete floor and to a low section of wall, seal all four edges, and leave it for 24 to 48 hours. Moisture on the underside means damp is coming through the slab or wall. Moisture only on the room side points more to indoor humidity and condensation.
Check the systems that keep it dry. Find the sump pit, confirm the pump runs, and note where it discharges outside. Look at the exterior grading from indoors by matching low spots outside to stains inside: downspouts that dump at the foundation and soil that slopes toward the house are the two most common, and cheapest to fix, causes of a wet basement corner in Milton’s newer builds.
If any check shows active water, deal with the source before finishes — grading, downspout extensions, crack sealing, or drainage work as the case requires. A finished wall does not stop water. It just hides it until the smell gives it away. Planning that work is part of a proper basement renovation, not an optional extra before it.
What affects the cost at this stage: whether the fix is exterior grading and downspouts, an interior crack repair, or a larger drainage issue, and how much wall and floor area has to be tested and prepared before anyone can honestly call the space dry.
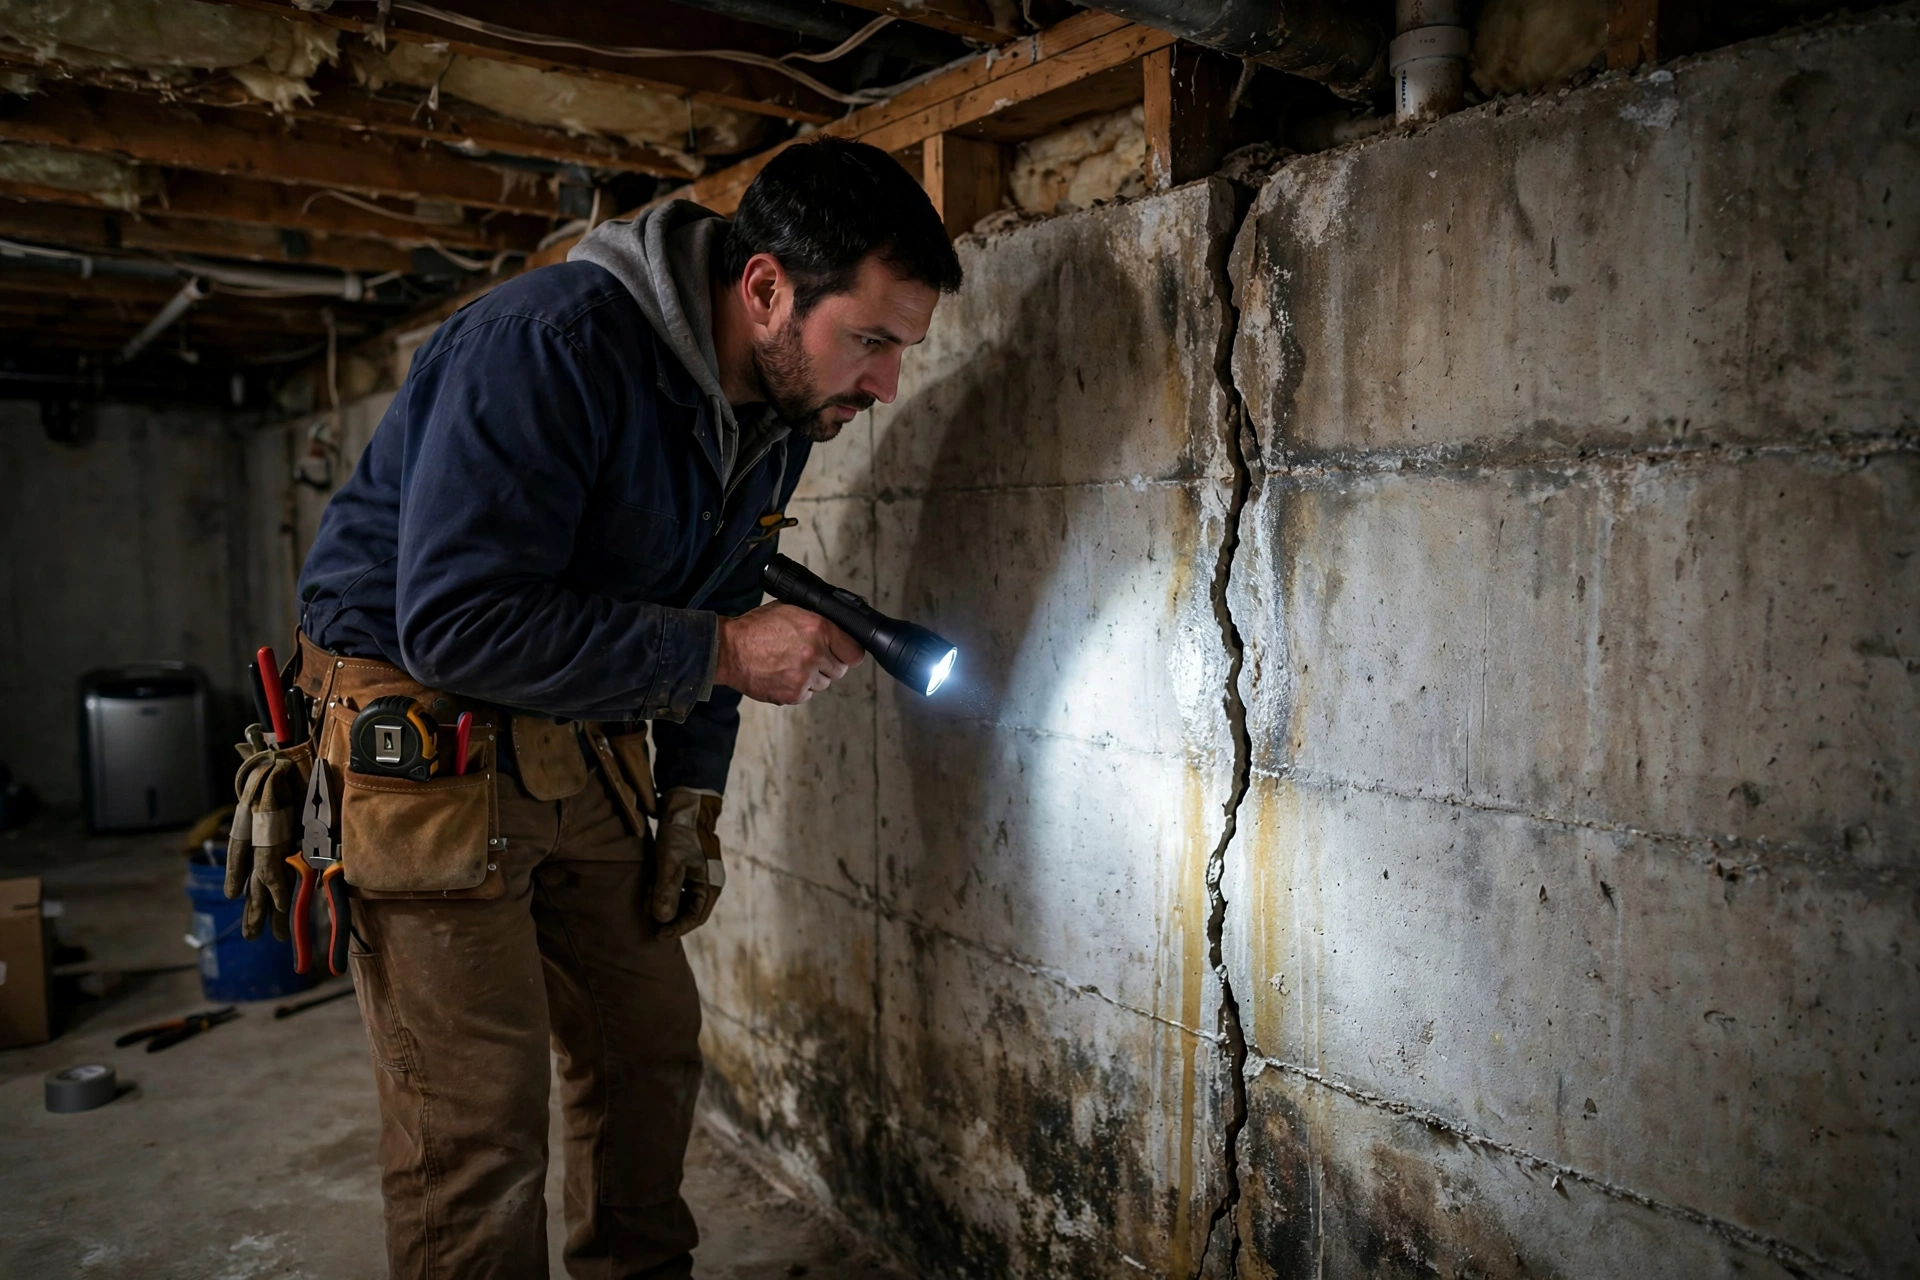
Step 2: Cracks, headroom, and the things you cannot move cheaply
Foundation cracks. A thin, vertical shrinkage crack in a newer Milton foundation is common and often only needs sealing and monitoring. A crack that is wide, horizontal, offset on one side, or actively wet is different — get it assessed before it disappears behind framing. Mark the ends of any crack with pencil and a date; movement over a season tells you more than a single look.
Headroom and bulkheads. Measure from the concrete floor to the lowest duct, beam, and pipe, not just to the joists. Milton production homes often lose the most headroom exactly where you wanted the seating or the hallway. Plan bulkheads and room layout around the mechanical runs first, instead of discovering a duct crossing the middle of a planned bedroom ceiling.
Fixed points. The furnace, water heater, electrical panel, main water shut-off, sewer cleanouts, and the roughed-in plumbing set the real layout. A bathroom is affordable where the rough-in already is, and expensive where drains have to move through concrete. Every access point — panel, cleanout, shut-off — still needs a reachable access panel in the finished plan. Closing one in is a small decision that becomes a drywall cut on the worst possible day.
When walls do go up, small imperfections and settling movement in newer homes are normal in the first years. Knowing what is a cosmetic drywall repair and what is a crack worth investigating keeps a finished basement from becoming a source of worry every spring.
Step 3: Permits and rules in Milton — check before you frame
In Ontario, finishing a basement is not just cosmetic work. A building permit is generally required when you are creating finished living space, adding a bedroom, adding or moving plumbing, or altering structure, insulation, or fire separations — and a second unit has its own, stricter requirements. Rules and interpretations change, so confirm your specific plan with the Town of Milton building services before work starts, rather than relying on what a neighbour did five years ago.
Three rules shape most Milton basement layouts:
- Bedrooms need a proper exit window. A basement bedroom needs an egress window that opens large enough and low enough for escape. Many builder basement windows in Scott and Ford do not qualify as-is, so a planned bedroom can mean enlarging a window and adding a window well — decide that on paper, not after framing.
- Electrical and plumbing work has its own permits and licensed trades. New circuits, panel work, and moved drains are not handyman shortcuts. Plan inspection stages into the schedule: framing, insulation, and vapour barrier are typically inspected before drywall closes them in.
- Townhomes and condos add a second layer. In Milton townhomes in Derry Green and Clarke, and in condo buildings, check your corporation or association rules as well as the town’s — work hours, elevator and corridor protection, and approval for plumbing or flooring changes can all apply.
What affects the cost here: whether the plan adds a bedroom or bathroom, whether an egress window must be enlarged, and how many inspection stages and licensed-trade visits the layout requires. Permit drawings and fees are a small part of a basement budget compared with rebuilding a room that fails inspection.
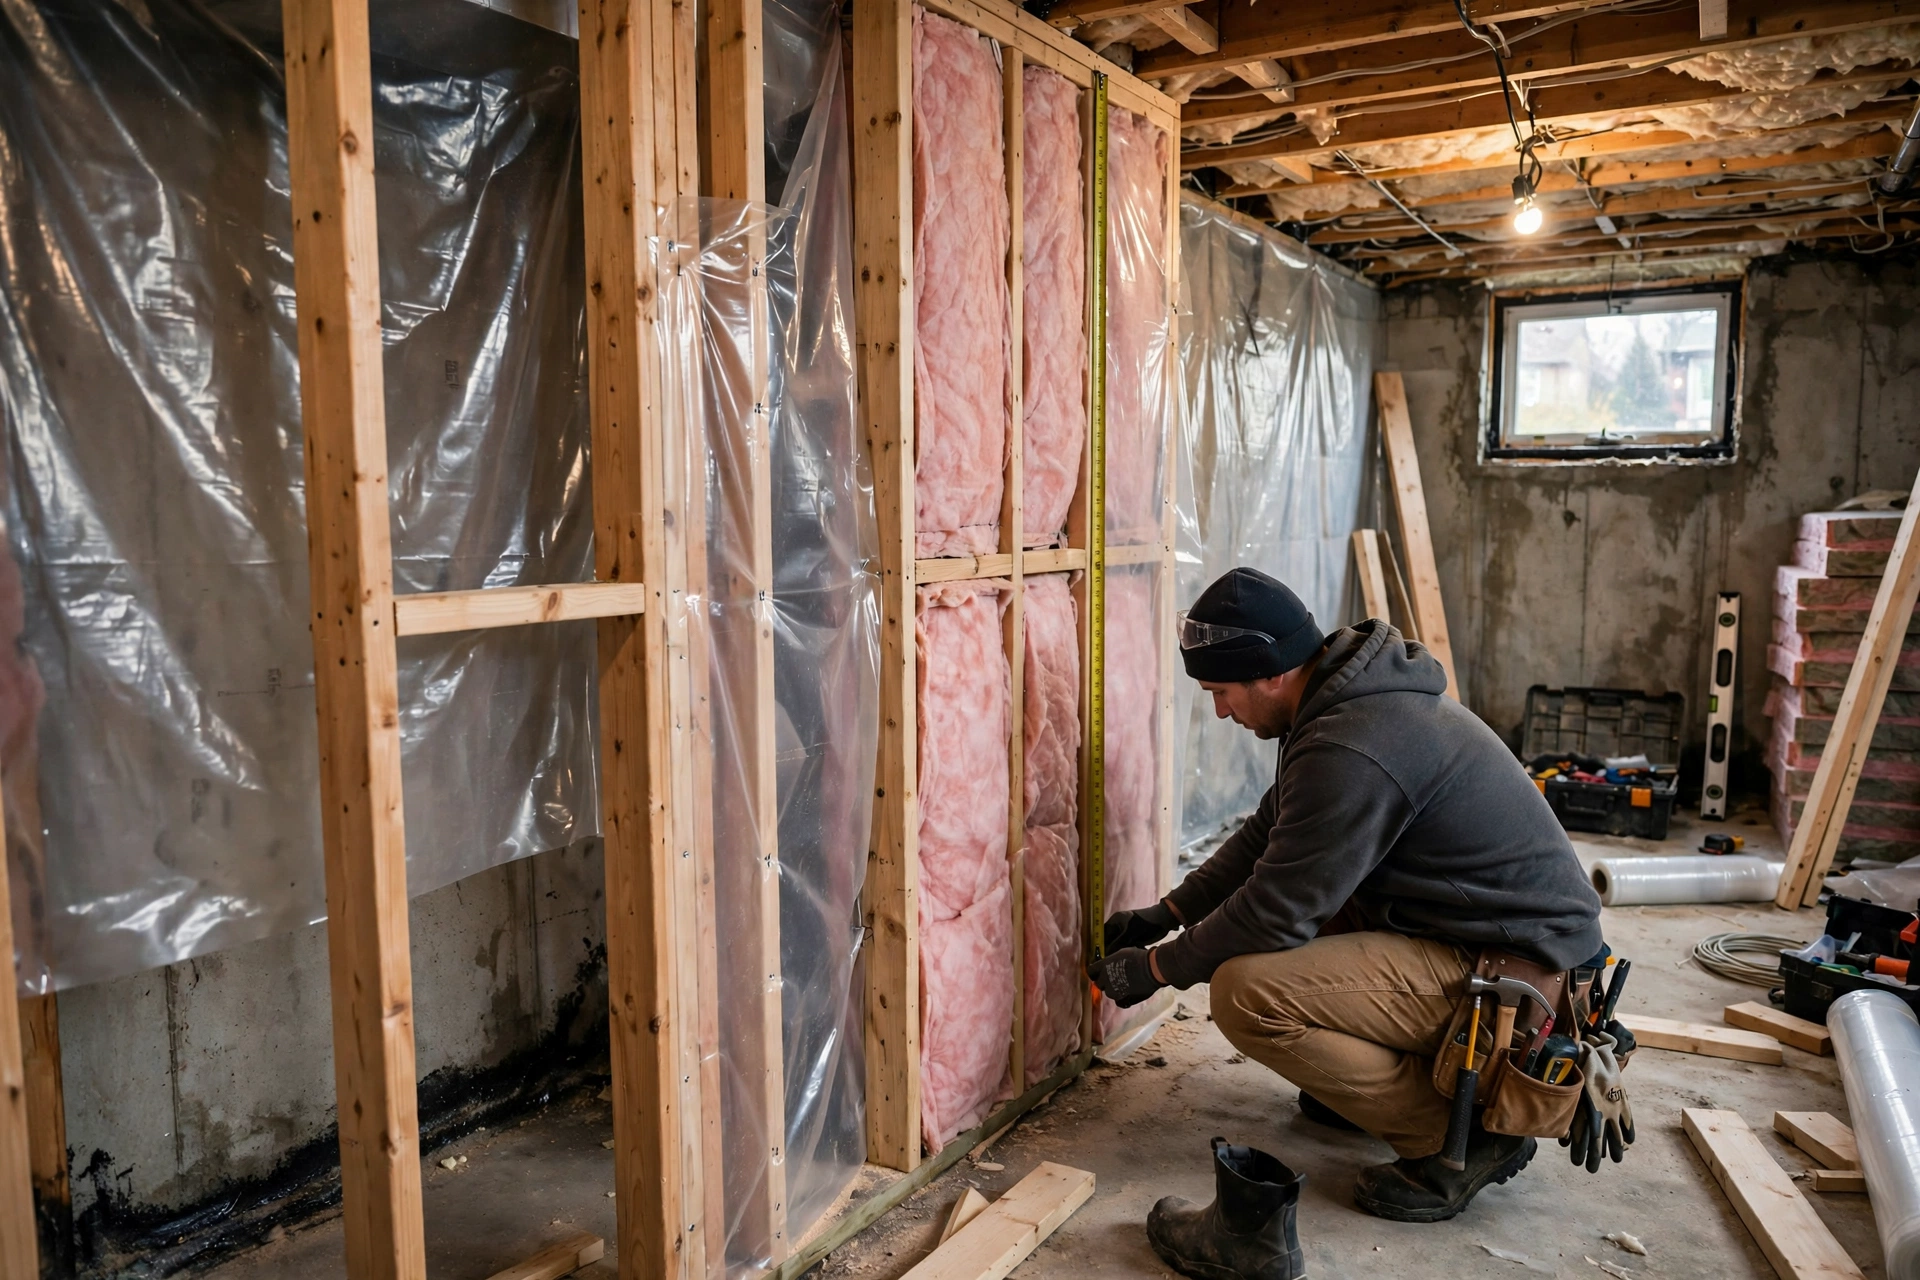
Step 4: Plan the build in the order that protects the finishes
Insulation and vapour control. Basement walls in Ontario need a continuous, code-compliant insulation and vapour strategy, not batts stuffed against cold concrete any way they fit. Cold foundation walls plus warm indoor air equals condensation inside the wall if the assembly is wrong. This is the least visible part of the job and the one that decides whether the basement smells musty in three years.
Subfloor and flooring choices. Concrete is cold and never perfectly dry, so plan a subfloor system or a flooring rated for below-grade use. Solid hardwood does not belong directly on a basement slab. Vinyl plank, tile, and engineered products designed for basements, over a proper subfloor, survive Milton’s seasonal humidity swings far better.
Heat, air, and sound. Check that supply and return air reach the new rooms — a finished basement with no return air feels stuffy and heats unevenly, especially in larger Hawthorne Village and Willmott floor plans. Decide on bathroom exhaust, a dehumidifier plan for summer, and basic sound separation under busy main-floor rooms before the ceiling closes.
Finishes last. Only now do paint colours, trim, and doors matter. Flat or low-sheen finishes hide the minor waviness every long basement wall has, and a consistent finish schedule makes future touch-ups simple — one reason homeowners bundle the final coats with professional painting services once the dusty work is done.
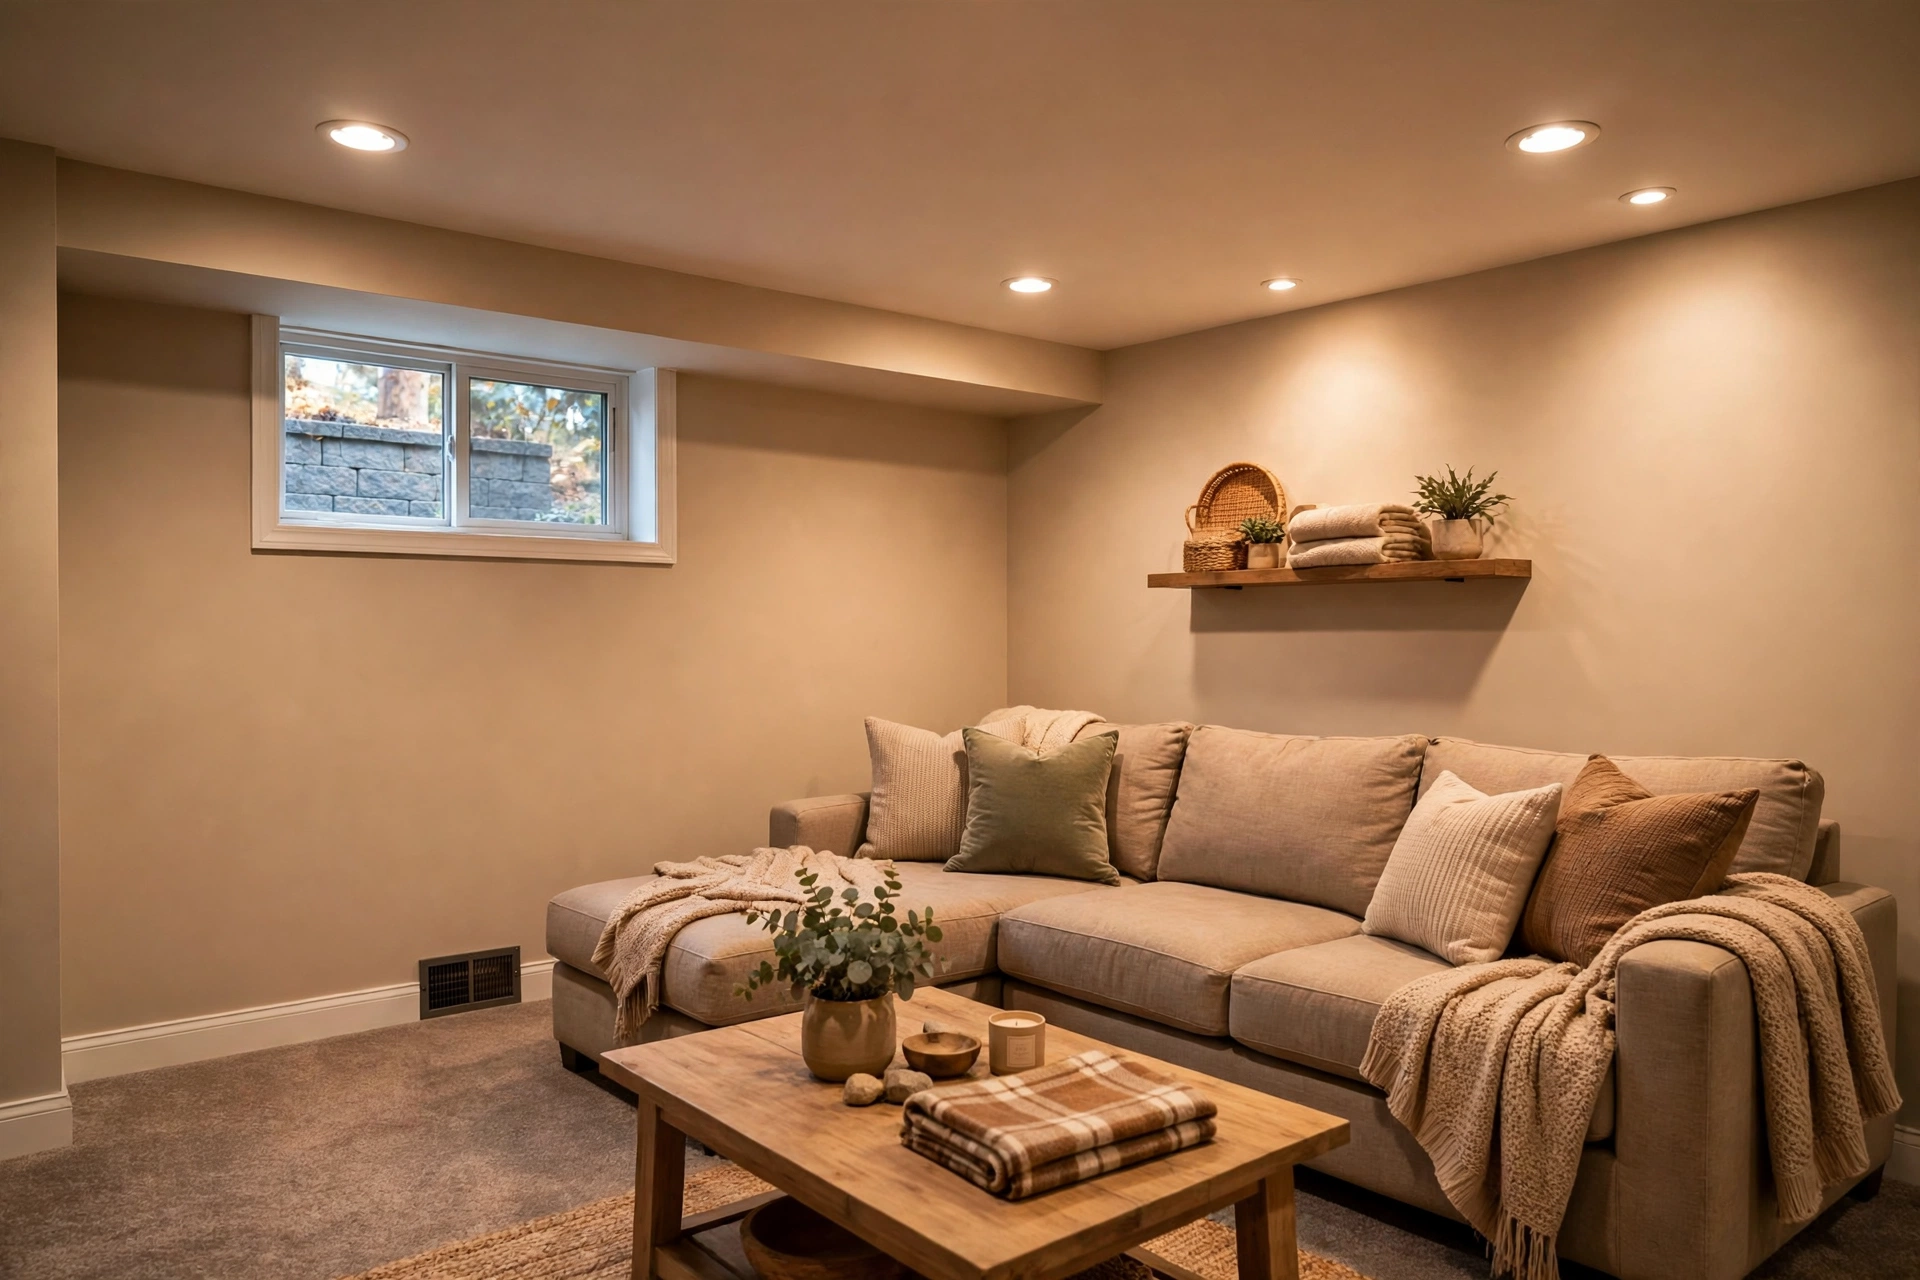
A simple go / no-go checklist
- Walls and floor pass the moisture checks, or the water source has been found and fixed.
- Cracks are identified — sealed, monitored, or assessed — before framing covers them.
- Layout respects the fixed points: panel, cleanouts, shut-offs, ducts, and the existing bathroom rough-in.
- Permit need is confirmed with the Town of Milton for your exact plan, including any bedroom egress.
- Inspection stages are in the schedule, so no wall is closed before it is signed off.
- Flooring and wall assemblies are chosen for below grade, not copied from an upstairs room.
If a basement passes that list, finishing it is usually a satisfying, predictable project — and in a town where most homes were built with growth in mind, it is often the best-used room in the house within a year. If it fails one item, that item is the project. Fix it first, while it is still cheap and visible.
Thinking about finishing your Milton basement?
If you want a second set of eyes on moisture, cracks, or layout before you commit to framing, call Peter at 289-272-2868 or reach out through our contact page to book a visit.